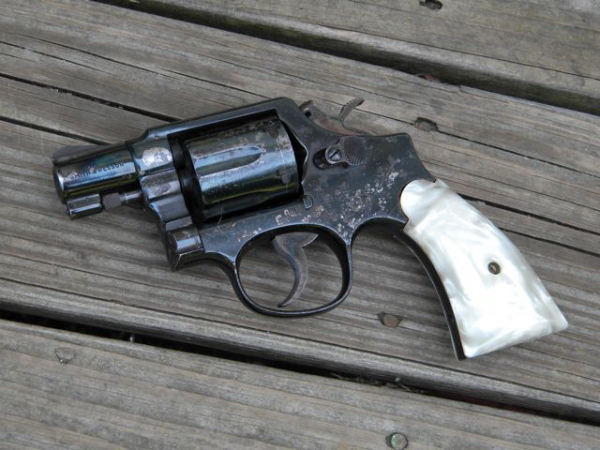
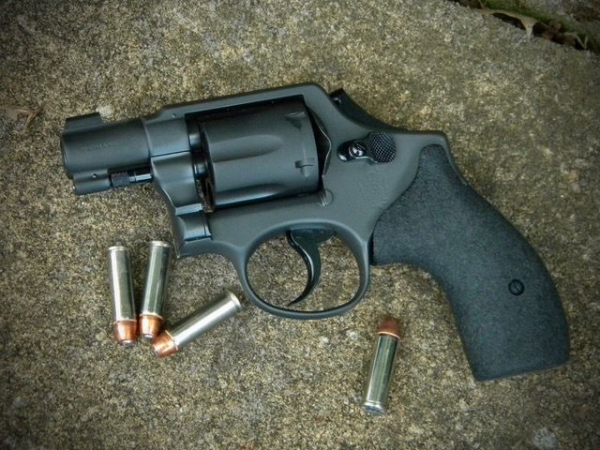
Parkerizing, or phosphating, is a “conversion” coating - the finish becomes part of the metal - used on ferrous metals like iron and carbon steel. It’s a relatively simple chemical process that’s been around since the late 1800’s. This durable finish is also easy to apply.
The most common process involves soaking steel in a phosphoric acid, heated to around 200 degrees. At the point where the metal meets acid the surface of the metal is dissolved, creating bubbles and releasing hydrogen - the finish is transforming the metal. Manganese parking is usually a dark gray - think military - and works well as a final finish. There are also darker or “black” solutions. Zinc Parkerizing is usually a darker gray. It’s not an option for stainless, brass or aluminum. The parkerized coating is stronger than the steel underneath, it’s more resistant to wear and the porous finish retains grease and oil well. “Parking” is also a great base to put underneath epoxy or moly paint finishes, which are “additive” coatings, meaning they lay on top of the metal’s surface.
Getting set up for parkerizing isn’t that hard or expensive, especially if you’re not doing large pieces. You can buy complete kits, or individual components. As usual, I recommend Brownells; they’re a one-stop shop. Their benchtop kit comes with a pint of concentrated parkerizing solution – manganese or zinc – cleaner/degreaser and post treatment solution, ten-inch tanks - one stainless steel, which is safe for the Parkerizing solution, and two steel tanks for cleaning and post treatment. There’s a thermometer, a pair of heavy rubber gloves and shop apron, a face shield and detailed instructions. Plus, a major benefit of shopping with Brownells is their outstanding customer support. For small parts you can use almost any stainless pot or pan.


You’ll need a heat source. Since the parking solution itself isn’t very caustic it needs to be heated for the conversion to occur. Usually around 195-200 degrees, just below boiling. The solutions to clean and degrease parts – a mandatory step – also need to be heated. I started with a one-burner plug-in hotplate, then went to a small two-burner propane camp stove, which is easy to set up and take down. Now I have a dedicated stove. In other words, there are a lot of options.
In order for the conversion to occur the surface of the metal to have “tooth.” You’ll need some way to blast the parts, prepping them for parkerizing. A polished or slick surface won’t allow the conversion to occur; blasting the metal creates a little texture. Blasters come in all sizes – compressors too - and once you have one, you’ll be surprised at how often it’s used. For medium, the actual blasting material, I prefer garnet. It provides more tooth than glass beads, doesn’t generate a lot of dust and has a long life.
The parkerizing process is simple. Prep the parts. Your results with parkerizing, like any other finish, is all in the prep, which begins with cleaning. “Cleanliness,” as they say, “is next to godliness.” You’ve got to ensure everything is clean and thoroughly degreased at each step. Blast the parts, dunk them into the heated solution until they stop bubbling. Then, into a rinse tank, blow dry and dunk in oil. Of course there’s another stop or two involved, but the point is that it ain’t that difficult.
When ammo is expensive, I turn to working on my weapons to get my gun fix. It’s enjoyable, always an education and you end up with something that not only customized and improved, but done by you. And, if I can do it, you can too.
Tiger McKee is director of Shootrite Firearms Academy. He is the author of The Book of Two Guns, AR-15 Skills and Drills, has a regular column in American Handgunner and makes some cool knives and custom revolvers. Visit Shootrite’s Facebook page for other details.