For a few years, I’d been somewhat obsessed with truly deep concealment. Part of this was prompted by an enquiry we’d received a few years ago – and we responded to with a few features. While we addressed the original – truly deep concealment without being able to use a belt – I knew that I had some age-related medical issues arising. I took this as an opportunity to learn more and to actually test one method to arrange for my own defense. While the actual testing of the concept took a few years – and has been incrementally reported on the wires over time – now I’m in the place I can look back and put the process in context.
The range of my medical appointments included a considerable stretch of several-times-per-week therapy in a non-permissive environment with monitor leads patched on the thorax by medical staff and by doing activities during those appointments. For all those who issue the pithy advice to “dress around the gun,” I can only say “there’s no need to frighten the horses.” For those who had to sell me on the travails of those employed in NPEs and the fact that normal service/service-compact sized guns can’t successfully be worn discreetly when you’re around the same people all day, every day, doing all the office stuff – thanks for the warning. It helped me get ready.

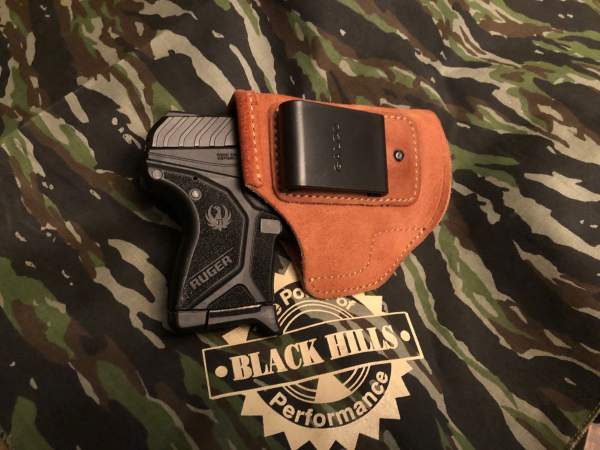
Ultimately, the gun I found that best concealed was the Ruger LCP II 380. I wore it in a Galco Stow-N-Go Clip-On IWB holster. While various caliber commandos will decry the pitifully weak cartridge, service gun types (like me) will talk about how hard it is to function such a small pistol in a fight. Others, quite squared away types, will tell me how tough it would be to defend such a handgun in a physical struggle with that kind of holster.
I’ve discussed caliber at length. As to the guns, the artillery had to fit a fixed ‘envelope’ in this case. The holster was available, had been used by me in the past and I’ll add a term – “disparity of force.” You can look that up.
As to caliber, let it suffice to note here that the relevant aspects are (1) functional reliability, (2) ammo that hits to the sights and (3) application of those concerns to actual placement of rounds on target in the practice environment.
Part of my evaluation began as far back as 2016; some was last summer (recently discussed here). I knew for some time this was coming and tried to make wise use of the warning.
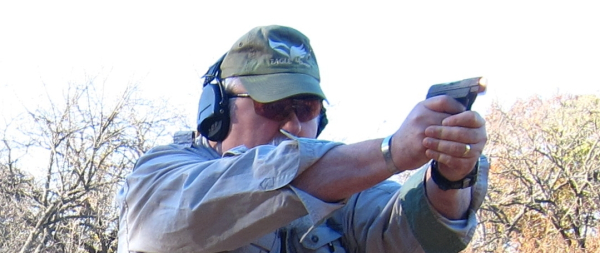
As to the gun, I’d worked with it when it first issued from Ruger. I’d fired the little cannon extensively. I found it to be a challenge to shoot, from the view of the sights (better than the first and second LCP iterations) and from the view of holding on during firing – again, an improvement. But it’s still very small and that 380 ACP, while no ‘death ray,’ is a bit of a handful in a gun that’s around 11 ounces, empty.
Early in my experience with it though, I found it could be quite accurate if I paid attention.


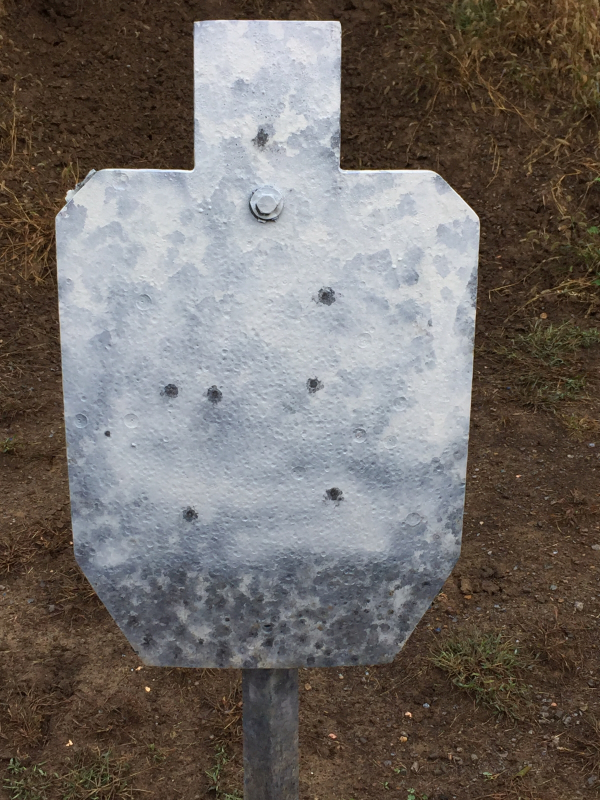
“I went back and loaded three rounds of Black Hills 90 grain JHP into the LCP II magazine. Firing them from fifty yards, I put a vertical string just right of center on to the steel (“IPSC”-type) target, likely A/C zone hits. From the very small . . . micro-Ruger that was very nice shooting indeed.”
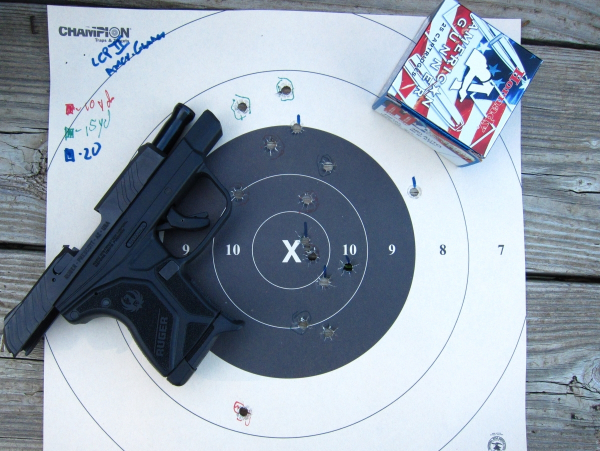
Not sure if it was a fluke, I used Dave Elderton’s variation of Claude Werner’s Baseline Evaluation. I found it was a “walk-back” drill and Dave’s variation was to use 8 ½”x 11” paper as the target and see how far back he could get – consistent with keeping every round on the page. I used the LCP II with Hornady American Gunner 90 gr. XTP, a B-8 repair center bullseye and started out at ten yards.
Each distance saw five rounds fired from ready with no time limit. Starting at ten yards, I checked the target and marked hits after every five-round string. The procedure was repeated at fifteen yards and at twenty yards. All the rounds fired stayed on the target, eleven going into the 9, 10 and “X” rings. The remaining four were into the “8” ring. I’ve not tried the course at 25 yards, but I imagine I will at some point.
What about speed? When the gun first arrived, I’d checked that. There was a nylon pocket holster marked “RUGER” that was in the box with the gun. I used it for the Wizard Drill. Starting with hand on the gun, allowed by course designer Ken Hackathorn, I found that I was well under two seconds for the close head-shot stages. I dropped a point at seven yards, but the hit was in the head outside of the box. Both hits were good at ten yards, but I was a little slow for the second hit of the ten yard pair. That could be ‘cleaned up,’ but the Wizard Drill is one to be shot cold.
I fired singles from guard to the chest at seven yards in around .7 second, with head shots striking in about .9 – 1 second. A pair to center from guard arrived in around 1.25 second. Quick accurate hits up close are not a problem.
Why all the longer range stuff? Well, I’d prefer to be further away from deadly attacks – perhaps in another ZIP code. But the other side gets a vote and I saw the environment I’d been forced into as a ‘soft target.’ Preparing for that isn’t like the parking lot robbery attempt.
As to the gun and caliber, remember this: no gun features a 100% guarantee of your safety – regardless of what kind, what material it’s made of, what caliber . . . It’s not a talisman to ward off evil spirits. You have to make it work.
The Galco Stow-N-Go holster I wore inside the waist at the front, almost at 12 o’clock. Holding the front of my shirt down, leads could be placed on either side of the ribs without pulling up the garment’s front. I selected loose necked garments to facilitate placement of the upper lead by pulling down the neckline.
The holster’s vertical orientation gave flexibility. It was light, protected and held the gun. While a proper full firing grip is unlikely, this is deep concealment.
You don’t get something for nothing.
I’ll be covering other very discreet options in the coming weeks. Stay tuned.
- - Rich Grassi
